

Today for Crafty Thursdays, Robin Berry joins us to show us how to make a traveling scissors and needle case in just under one hour. Take it away Robin...
The final project holds 2 pair embroidery scissors and lots of needles and pins so you have the various objects you need to do your projects in class or while traveling.
Materials:
- 1 paper pie plate – 8” – 9”
- Pencil or chalk to transfer cutting lines
- Scissors – fabric and thread
- 2 pieces wool felt – 8” x 5” approximately – preferable 1 colored and 1 white
- 1 skein embroidery floss
- 1 sharp needle capable of holding all 6 strands of floss – I like a #22 crewel needle.

Step One:
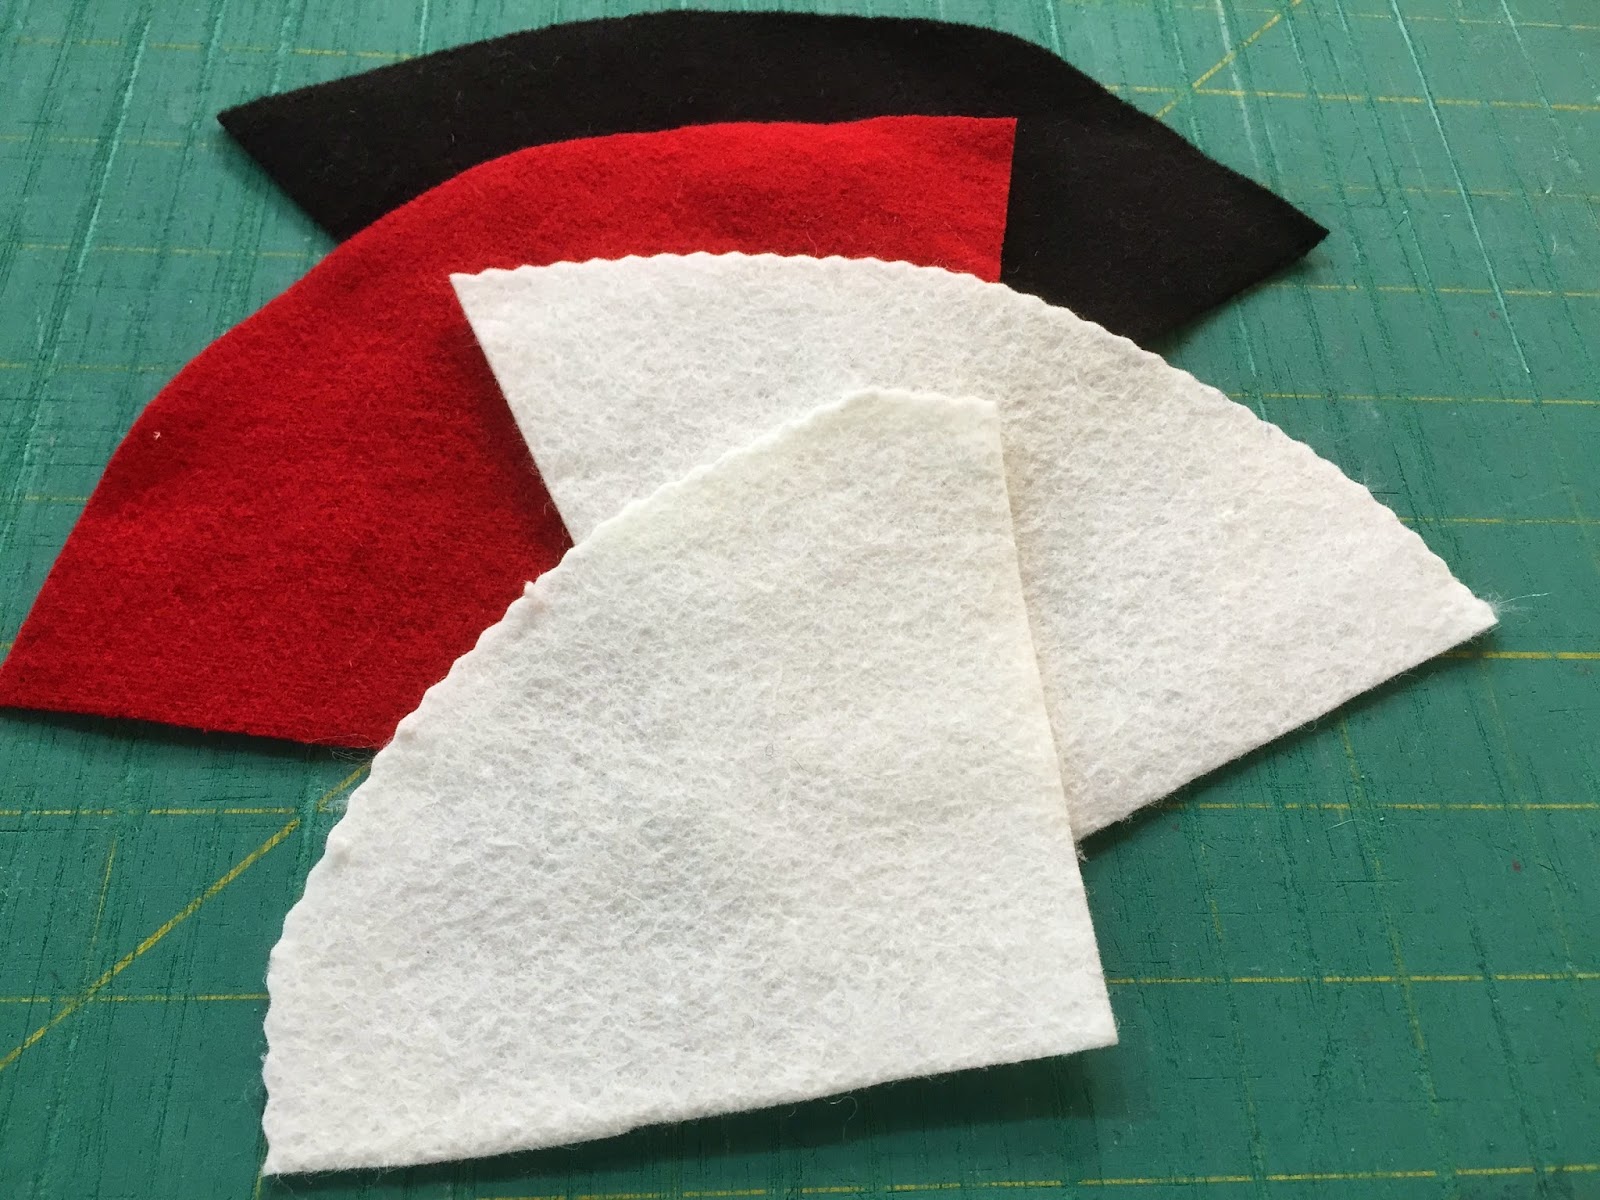
Take the pie plate and fold in quarters. Using a pencil or chalk mark the cutting lines for 2 quarters on the colored wool felt. Cut out the 2 pieces of colored wool felt.
Step Two:
Trim the round edge of the quarter pie shape about 1/3”. Using the pencil or chalk mark the cutting lines on the white felt. Trim the pie shape another 1/3”. Using the pencil or chalk mark this cutting line on the white felt. Cut the 2 pieces of white felt. On this one I trimmed the upper corners of the white felt for ease of use.
Why wool felt – acrylic will dull the needles and pins with its plastic content as you put them into the felt. Wool felt can be purchased at most fabric stores during the fall and winter months.
Step Three:
Put the 2 pieces of the colored wool together. Do a blanket stitch on the straight edges with all 6 strands of the floss.
Next put all 4 of the felt pieces together, aligning the point. Do a running stitch up the middle through all 4 pieces. You will need to stab stitch this; with all 6 strands of floss. If you want do something decorative along this line of stitches or not. I did a chain stitch in a different colored floss for decoration.

Step Four:
Make a tassel from the remaining floss in the skein and attach firmly to the point.

Step Five - Optional
Decorate the front of the case with a button, embroidery motif, or charm.
Checkout my favorite handout for 12 basic stitches from Sharon Boggins Pintangle.com -- http://inaminuteago.com/pdfiles/12BasicStitches.pdf
And your done. Don't forget to follow us on Twitter @mysteryplaygrnd
All Rights Reserved – Robin Berry 2015
Great craft Robin. Thank you for sharing.
ReplyDelete